SSO login setup (AzureAD)
With this feature we can connect the evenTwo App or WebApp with the user system of companies that are using Microsoft's Active Directory (Azure AD). Thanks to this feature, users can log in to the applications with the same credentials they use to access to their work computer.
In order to connect both applications we must enter Azure (https://portal.azure.com) and access Azure Active Directory.
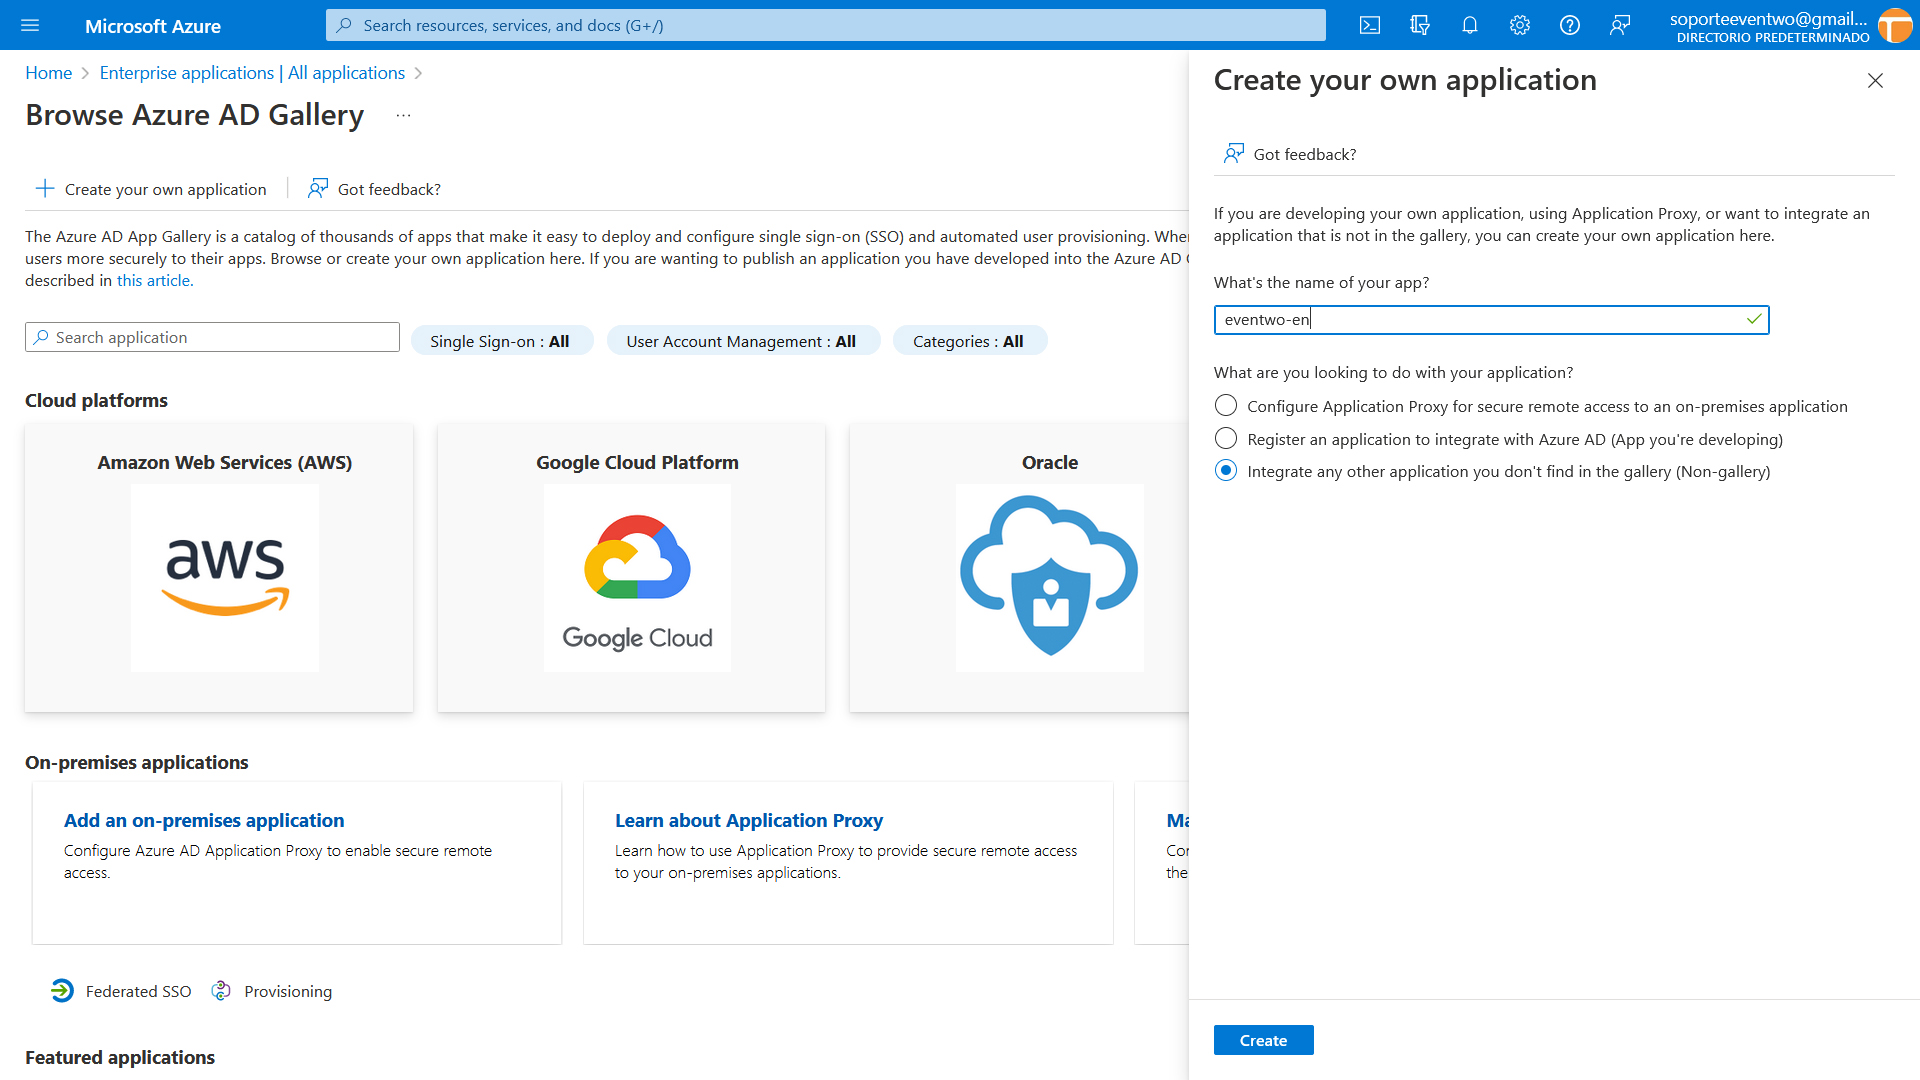
Once inside the directory you may click on the side menu on "Enterprise Applications" and then on "New Application". On the screen that appears, click on “Create your own application”. A screen will appear on the right in which you must indicate its name and mark "Register an application to integrate with Azure AD (App you're developing)":
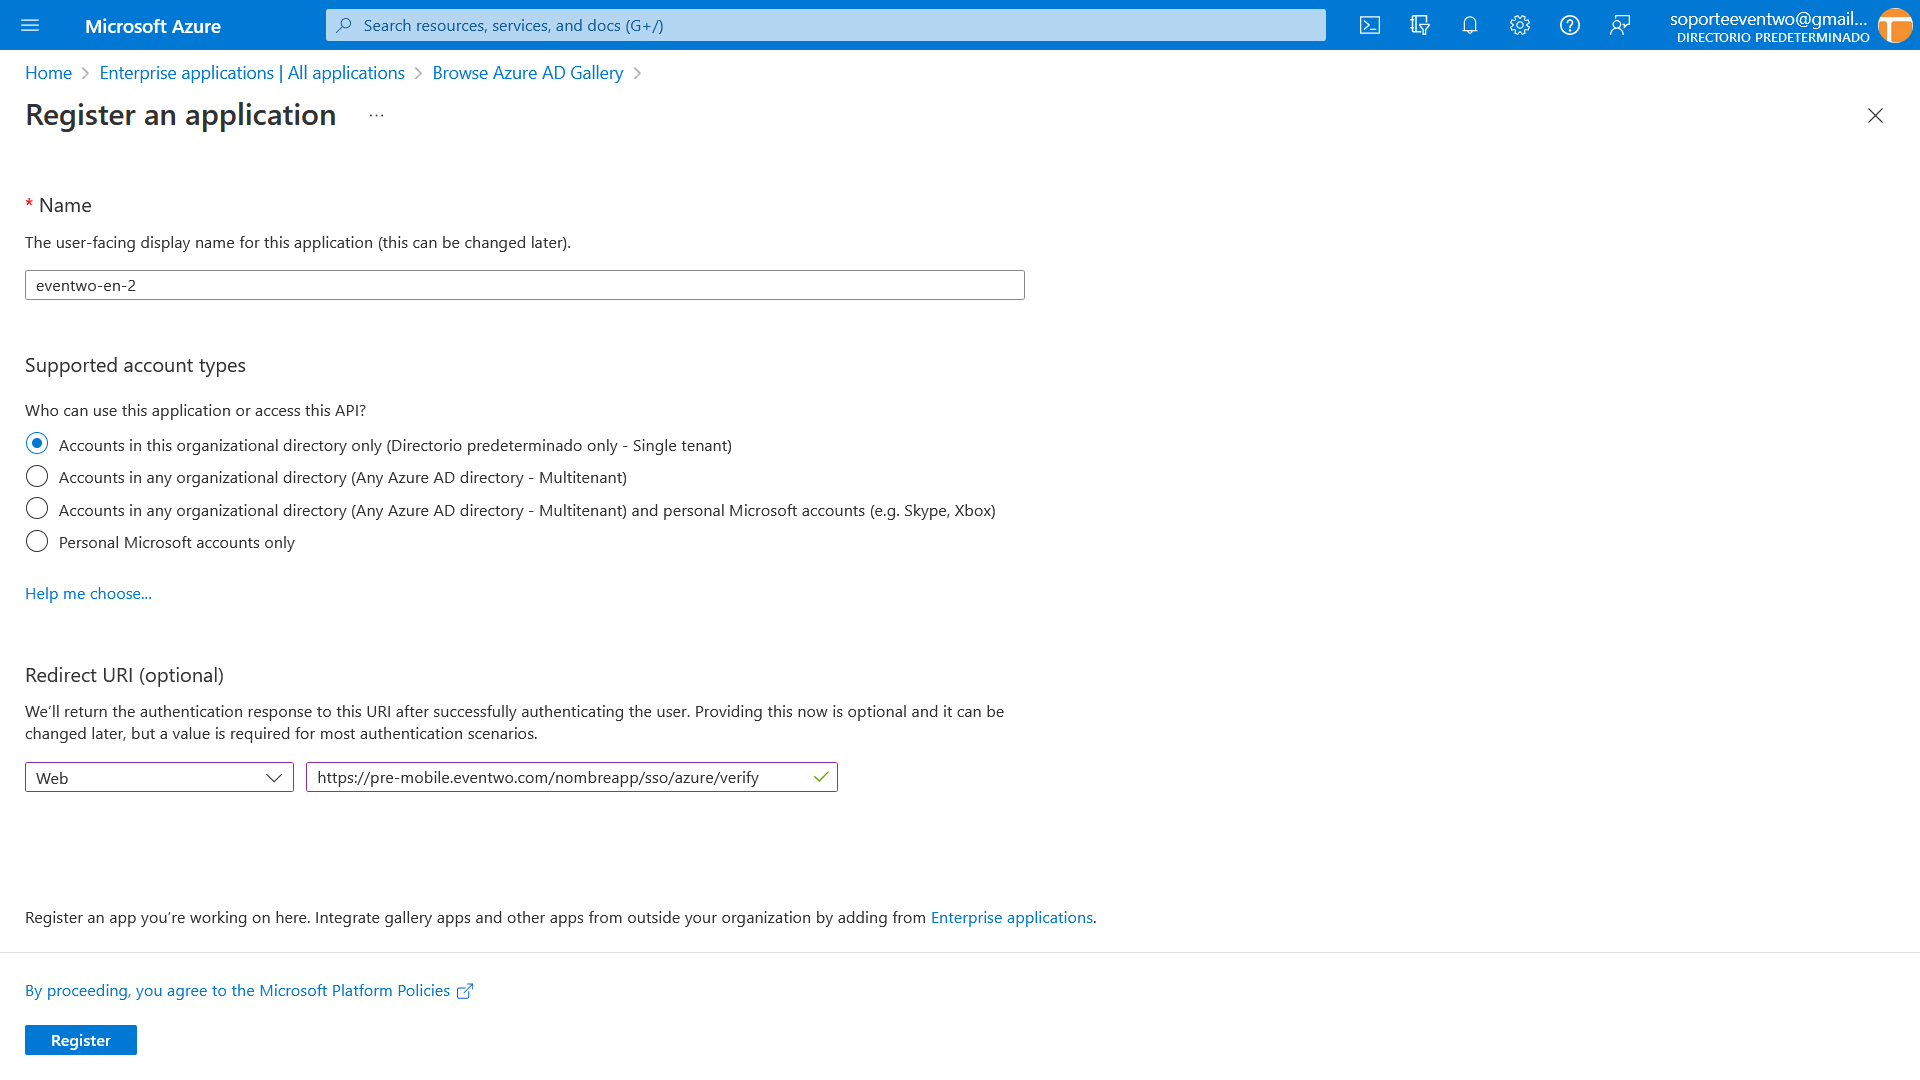
On the next screen you have to leave the first option “Accounts in this organizational directory only (Directorio predeterminado only - Single tenant)” and put the redirect URI (type that we will provide and that will have the following format:
https://mobile.eventwo.com/nombreapp/sso/azure/verify
Once this is done, the application will be created in Azure and you may access to the directory menu again to go to the next point, “App registrations”. Here you must select the application that we have just created and we will arrive at the next screen in which we need you to provide the data associated with "Application (client) ID” and "Directory (tenant) ID".

On this same screen, in the side menu, click on “Certificates & secrets” and then click on “New client secret”. You have to add a new client secret and on the next screen copy the value of the secret since we will need it to configure the connection:

Then, in the side menu, we will click on “API permissions” and then on “Add a permission”. At that time we will choose "Microsoft Graph" and then "Application permissions". We will scroll to the “User” menu and mark two permissions, “User.Read.All” and “User.ReadWrite.All”. Then, on the screen with the list of permissions, we will click on “Grant confirmation of administrator consent for default directory”.

Finally, it only remains to add the users of the directory that will have permission to use the created application, for that you must return to the “Enterprise applications” menu, you may select the created application and we will click on users and groups, adding the users or groups of users that can use the application.